
Mastering Your MacBook: Essential Tips for New Users Transitioning from Windows
This comprehensive guide is designed for users transitioning from Windows to MacBook. It covers essential tips and tr...
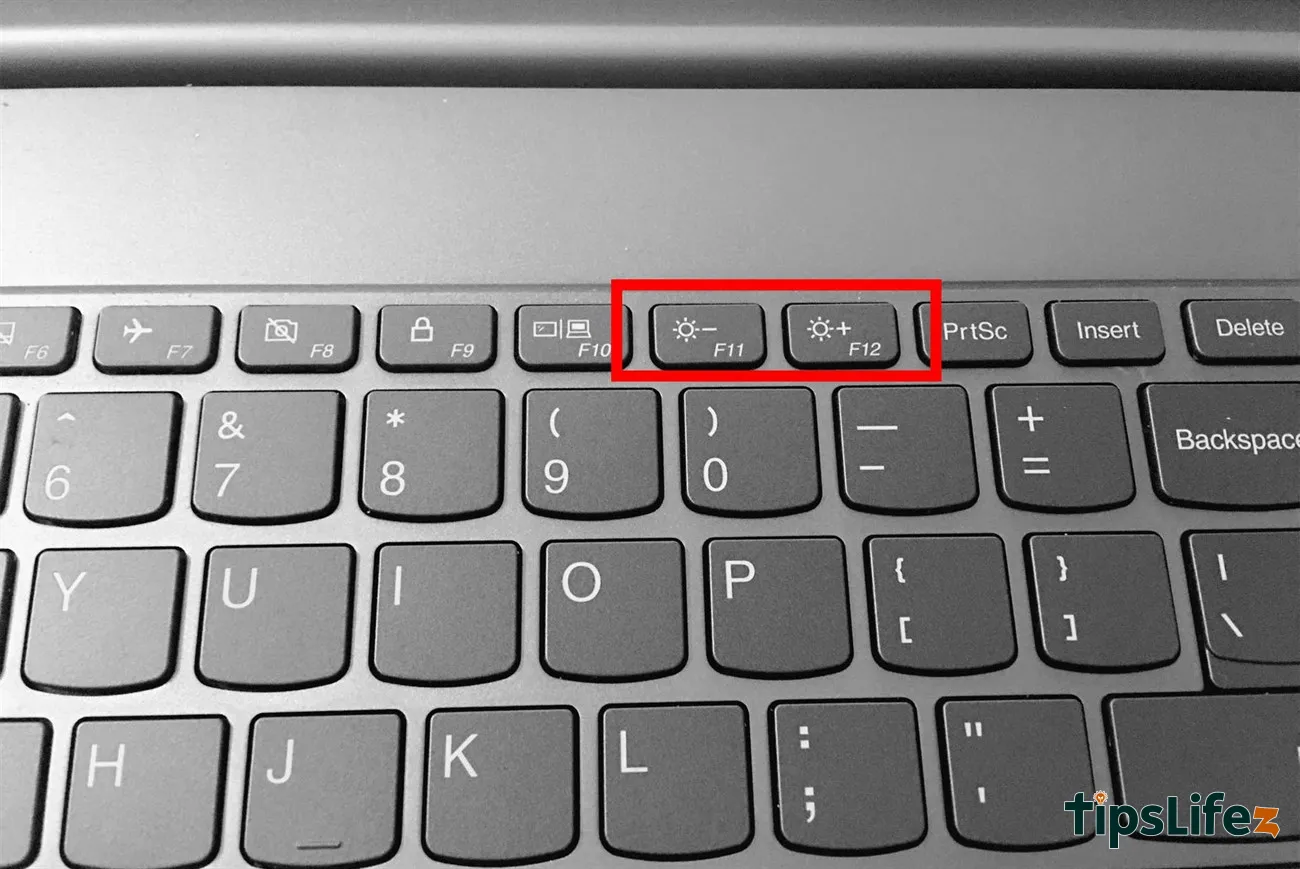
Press the PrtSc key to capture full screen
The Print Screen key is usually abbreviated as PrtSc, Prnt Scr, Print Sc and is located in the upper right corner of the keyboard. If you can’t find the PstSc key, it’s possible that it’s been slightly altered on your keyboard (depending on the manufacturer).

Proceed to search for the Paint app

Press Ctrl + V to paste the image you just took

Select File > Save to save the photo
Select the location you want to save and press Save.

Select the location you want to save and press Save
Super shocking promotion computer screen, click to see now!

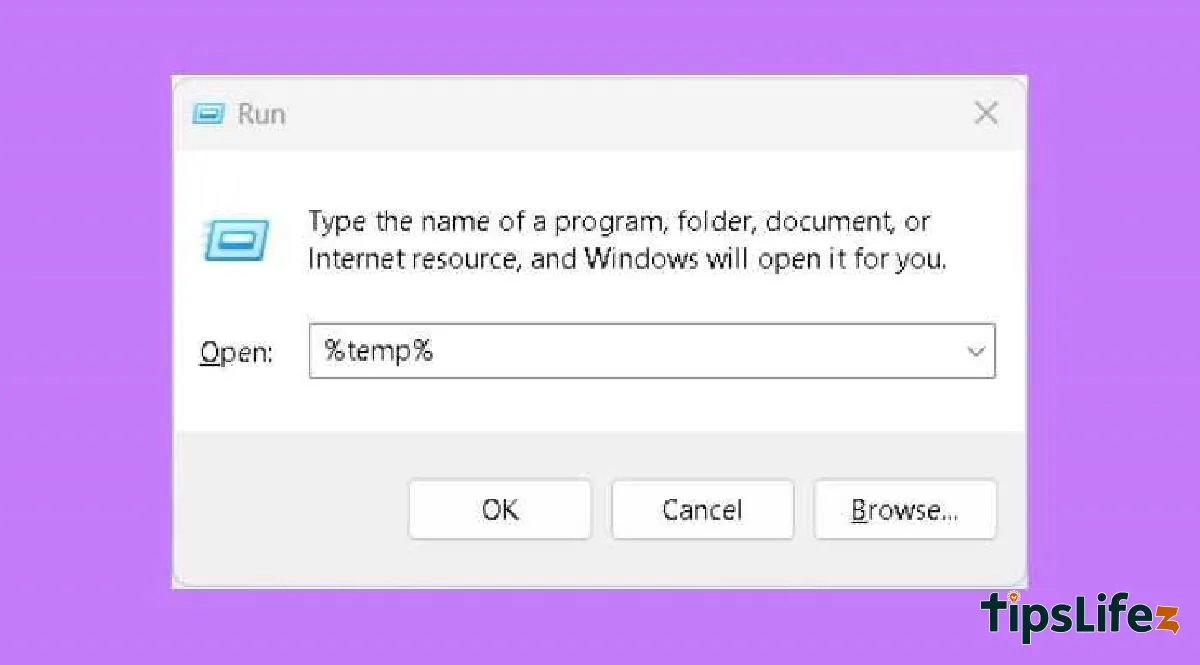
Go to My Computer (This PC) and select Screenshots
The Snipping Tool has the following shooting modes: take a photo of any area, take a screenshot of an open window, and capture the full computer screen. After taking a screenshot, if you want to continue editing, you can press Ctrl + V, paste it into Paint to continue.

Open the Snipping Tool by searching on the search bar
Especially for some computers running the Windows operating system, to capture the entire computer screen, press the Windows+Print Screen (PrtSc) key combination on the keyboard to take a picture. The photo you just took will be saved in the Screenshots folder.

Press the Windows + PrtSc key combination to capture the screen automatically
You need to identify the area you want to photograph. Then use the Windows key combination + shift + S, click to start, and release the mouse to finish.

Use the Windows key combination + shift + S, click to start, and release the mouse to end

To take a screenshot of your computer with the Prt Sc keyboard shortcut, press the Print Screen (PrtSc) key on your keyboard.

In Snip & Sketch, press New, select the shooting mode you want, and start shooting.

Open the window you want to capture

Press Alt + PrtScr to capture any window

Go to the Paint app and press Ctrl+V to paste the image you just took
Press Shift + Command + 3 to automatically save the screenshot on the home screen.

Press Shift + Command + 3 keys to capture the full screen of the MacBook

Drag the cross area to the screenshot area

You need to move this camera through the window you want to capture and then click
Lightshot (Windows, macOS)
Lightshot is a free computer screenshot software that supports users to take screenshots quickly. With just a few simple steps, you can take a screenshot in an instant.
In addition, you can edit photos after shooting with a suite of professional photo editing tools, many of which are extremely convenient.

Lightshot software takes screenshots of Windows, macOS
Snagit (Windows, macOS)
Click the Capture button, then select Image, select Capture, and finally drag and drop the mouse on the part you want to capture. Or open the Snagit app, tap the Capture button, and then select Image or Print Screen to take a photo.

Click the Image button in Snagit to take a photo
PicPick (Windows)
PicPick is a software that allows you to take computer screenshots, which has many useful features that make it possible to edit images and share them directly to social networking sites. You can tap the Full-screen feature to take a full-screen photo in the app.

You can tap the Full-screen feature to take a full-screen photo in the app
Skitch (macOS)
With the Snap form Link feature, you just need to enter the link, and Skitch will take a photo of the entire website and produce a high-resolution image, so you can review it whenever you want.

The Skitch software will take a photo of the entire website and produce a high-resolution image
Above is how to take a screenshot of a Windows and macOS operating system computer or laptop that TipsLifeZ shares with you. Good luck!
This comprehensive guide is designed for users transitioning from Windows to MacBook. It covers essential tips and tr...
It is extremely important to adjust the screen brightness to suit the eyes. Below, TipsLifeZ will guide you on how to...

You are afraid that you will fall asleep when you are installing a fairly heavy software and have not yet had time to...

Discover now the top best free AI tools today, supporting you to write content, create images, edit videos, and learn...
A laptop is a commonly used device today. However, over time, it can start to slow down or lag. Join TipsLifeZ to dis...
The Shokz OPENRUN PRO headphones are accessories that use bone conduction technology, providing standard sound qualit...
It is extremely important to adjust the screen brightness to suit the eyes. Below, TipsLifeZ will guide you on how to...

Nowadays, many laptops are equipped with keyboard lights to enhance typing experience in low-light conditions. Howeve...
Discover now the top best free AI tools today, supporting you to write content, create images, edit videos, and learn...
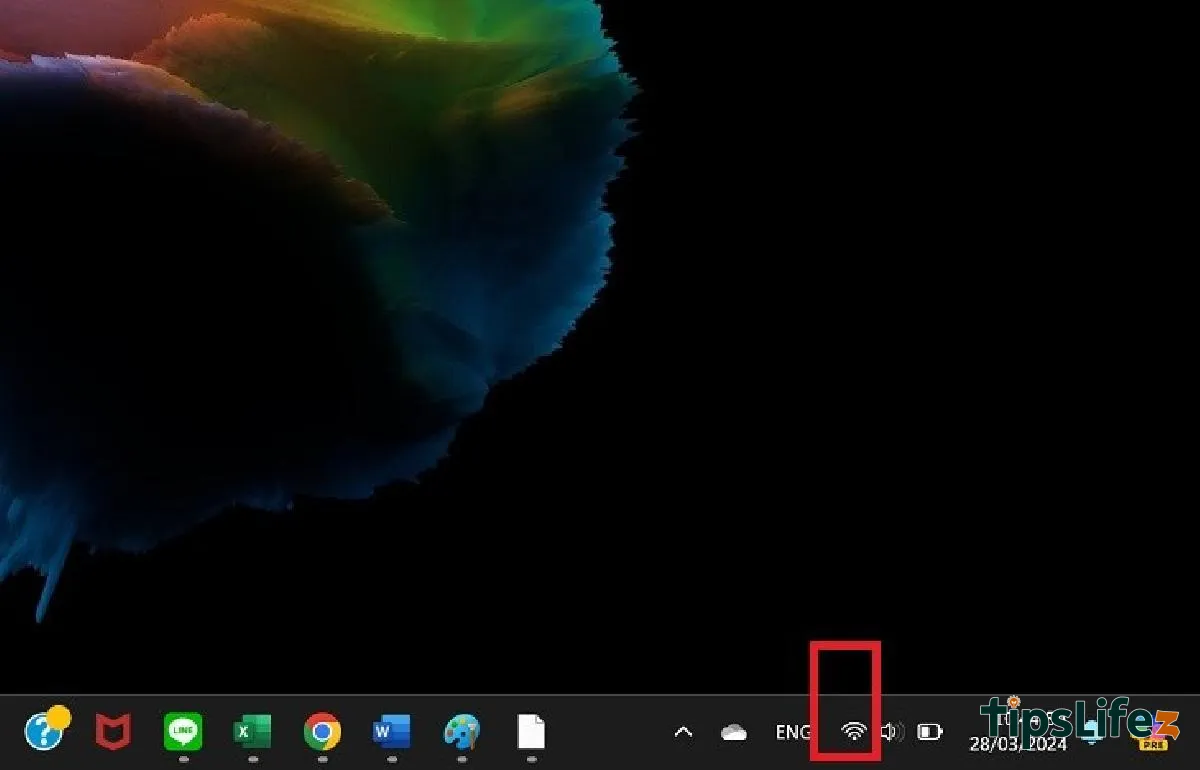
The Bluetooth feature helps you transfer data and connect with other devices quickly. In this article, TipsLifeZ will...
Windows 10 is the inheritance and development of Windows 7 and 8 with some interesting features. Let's find out how t...
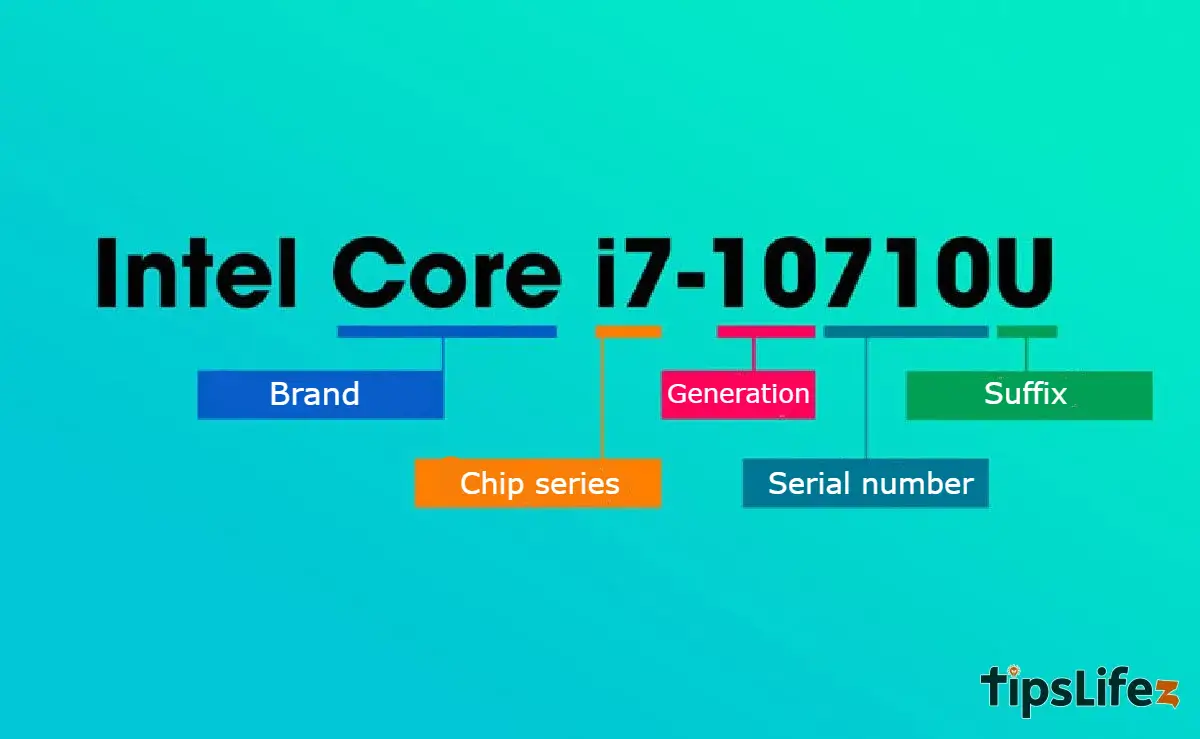
There are many types of chips on the market, making it difficult for users to choose the right one for their laptops....