
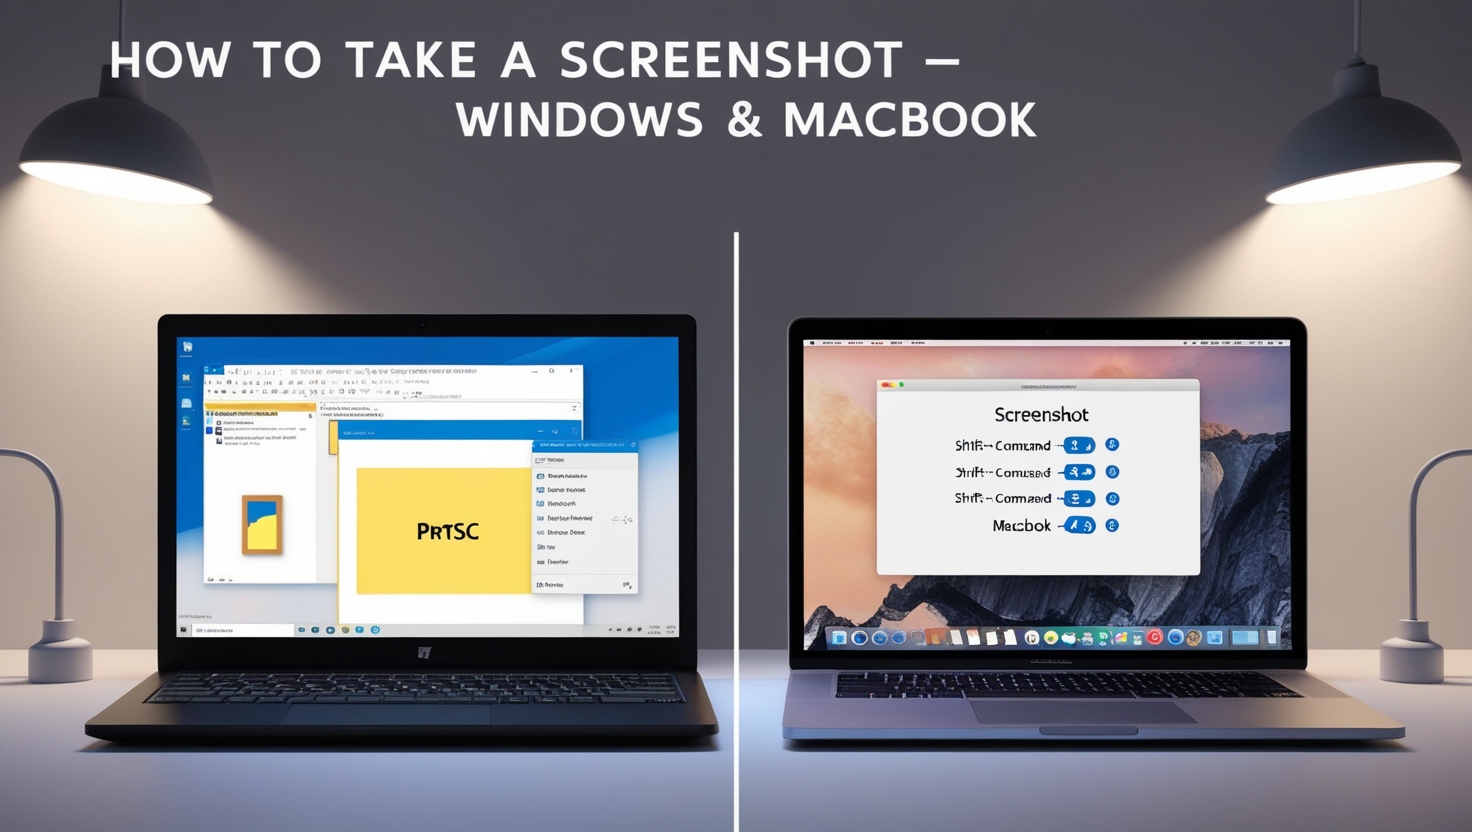
How to take a screenshot of a Windows or MacBook laptop quickly
Laptop screen capture helps you keep important data and is more convenient to review. Let's see how to take a screens...
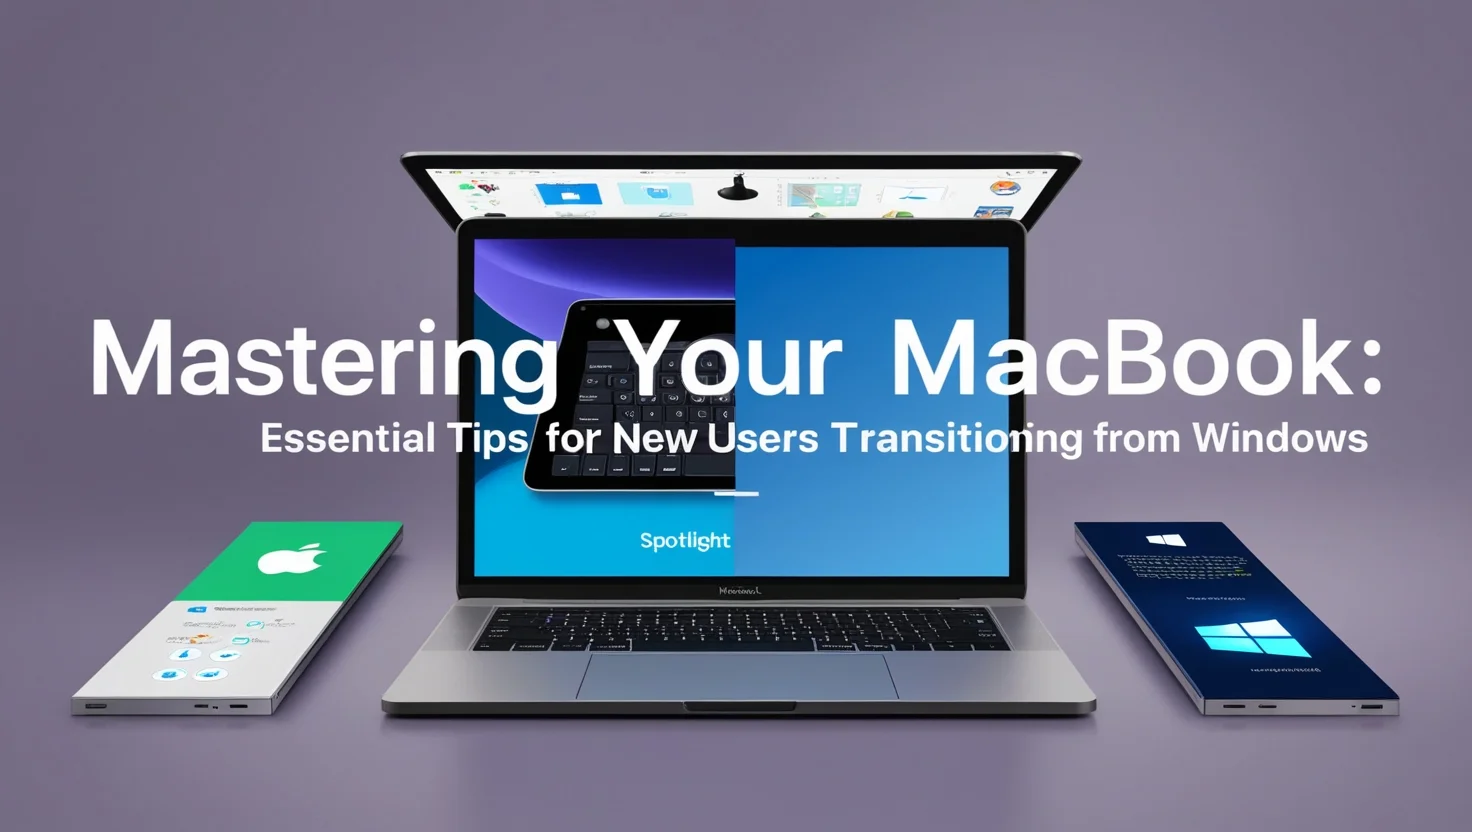
Welcome to the world of MacBook—a sleek, powerful tool that’s about to become your new best friend. Transitioning from Windows to macOS can be a bit daunting, but with the right guidance, it’s a smooth journey. This guide is designed specifically for new MacBook users who are familiar with Windows and need practical tips to get started.
The Dock: Think of the Dock as your new taskbar. It’s where you’ll find your most-used apps. Unlike Windows’ Start Menu, the Dock is always visible at the bottom of your screen, giving you quick access to everything you need.
Finder: Finder is your file management tool, similar to Windows Explorer. Use Finder to browse files, connect to iCloud, and access external drives. You’ll find it on the Dock—it’s the first icon on the left.
System Preferences: System Preferences is the equivalent of Windows’ Control Panel. This is where you’ll adjust settings, manage users, and customize your MacBook to your liking.
Command Key: The Command key (⌘) is your new best friend. It replaces the Control (Ctrl) key for most shortcuts. For example, instead of Ctrl+C for copy, you’ll use Command+C.
Spotlight Search: Use Command + Spacebar to open Spotlight Search. This tool helps you find files, apps, and even perform quick calculations or conversions without opening a separate app.
Switching Between Apps: Command + Tab lets you switch between open applications. It’s similar to Alt + Tab on Windows but feels much smoother on a MacBook.
Gestures: The MacBook trackpad supports multi-touch gestures. Swipe with three fingers to switch between desktops or use two fingers to scroll through webpages. These gestures make navigating macOS more intuitive and efficient.
Right-Click: To right-click, tap the trackpad with two fingers. Alternatively, you can enable a secondary click in System Preferences > Trackpad.
Mission Control: Swipe up with three or four fingers to open Mission Control, giving you an overview of all open windows and desktops. It’s an easy way to stay organized and switch between tasks quickly.
Installing Apps: Unlike Windows, where you often download .exe files, macOS uses .dmg files. Download an app, drag it to the Applications folder, and you’re done.
Uninstalling Apps: To uninstall, simply drag the app from the Applications folder to the Trash. It’s a straightforward process that keeps your MacBook clutter-free.
Organizing Files: Use Finder to create folders, tag files for easier search, and sync everything with iCloud. This way, your documents are accessible across all your Apple devices.
Dark Mode: Enable Dark Mode in System Preferences > General for a sleek, modern look that’s easy on the eyes—especially during late-night work sessions.
Hot Corners: Set up Hot Corners in System Preferences > Mission Control to trigger actions like launching Mission Control or putting your display to sleep by moving your cursor to a specific corner of the screen.
App Store: The Mac App Store is your go-to for downloading new applications. Explore categories like productivity, creativity, and games to find apps that enhance your MacBook experience.
Conclusion : Switching from Windows to a MacBook doesn’t have to be overwhelming. With these tips, you’ll navigate macOS like a pro in no time. Remember, the key is to embrace the differences and enjoy the unique features that your new MacBook offers. Whether it’s mastering the keyboard shortcuts or customizing your workspace, each tip brings you closer to becoming a confident MacBook user.

Navigating your new MacBook interface can be a challenge if you’re accustomed to Windows. This guide will introduce the essential elements of the macOS interface, comparing them with their Windows counterparts to make your transition smoother.
The Dock: The Dock is your new hub for accessing frequently used applications, files, and folders. Positioned at the bottom of your screen, it’s always visible, providing quick access to your most important tools.
The Menu Bar: At the top of your screen, the Menu Bar provides access to system controls, application-specific options, and important tools like Wi-Fi, sound, and time settings.
Finder: Finder is your gateway to managing files on macOS. It handles everything from file navigation to managing iCloud storage and external drives.
Challenge: For Windows users, the macOS interface can initially seem confusing due to the different locations and functions of tools.
Solution: Spend time familiarizing yourself with the Dock, Menu Bar, and Finder. Recognize that while they serve similar purposes to their Windows counterparts, they are designed to streamline your workflow in the macOS environment. Practice using shortcuts and explore each tool’s settings to understand how they enhance your MacBook experience.
Spotlight Search is a powerful tool on your MacBook that allows you to quickly find apps, files, and even perform basic tasks like calculations. It’s an essential feature for any MacBook user, especially those transitioning from Windows.
How to Activate: To open Spotlight, simply press Command + Space on your keyboard. A search bar will appear in the center of your screen, ready for your query.
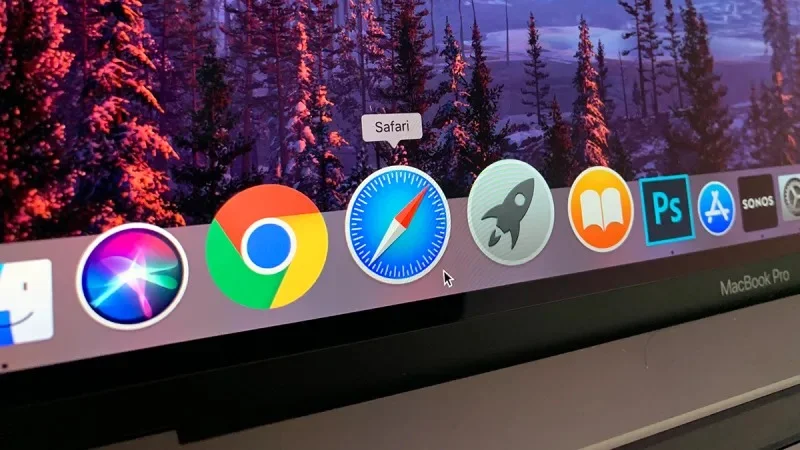
Searching for Apps: Type the name of an app, and Spotlight will instantly locate it. For example, typing “Safari” will bring up the Safari browser, ready to be launched with a simple press of the Enter key.
Finding Files: Need to locate a document? Just type part of the file name or even a keyword from the content. Spotlight scans your entire MacBook, including files stored in iCloud, to deliver results in seconds.
Performing Calculations: Spotlight isn’t just for searching—it can also handle basic arithmetic. Type a math problem like “245*12,” and the answer will appear instantly without opening a calculator app.
Key User Challenge: Windows users often find themselves spending extra time navigating through folders or menus to find what they need.
Solution: Spotlight is designed to be your go-to tool for quick and efficient searches. Its ability to index your entire system makes it faster and more versatile than the traditional Windows search function. Once you get accustomed to using Command + Space, you’ll find that Spotlight dramatically reduces the time spent searching for files, apps, or even information online.
MacBook keyboard shortcuts are a powerful way to streamline your workflow, making daily tasks faster and more efficient. For those new to macOS, adapting to these shortcuts may seem challenging, especially if you’re used to Windows. This guide will help you master essential MacBook shortcuts and compare them with familiar Windows shortcuts.
Copy and Paste:
Undo and Redo:
Cut:
Spotlight Search:
Switching Between Apps:
Force Quit Applications:
Take a Screenshot:
Key User Challenge: Switching from Windows to macOS can be tricky, especially when it comes to remembering different shortcut keys.
Solution: To make this transition smoother, here’s a comparison chart of Windows vs. MacBook shortcuts:
| Function | Windows Shortcut | MacBook Shortcut |
|---|---|---|
| Copy | Ctrl + C | Command + C |
| Paste | Ctrl + V | Command + V |
| Cut | Ctrl + X | Command + X |
| Undo | Ctrl + Z | Command + Z |
| Redo | Ctrl + Y | Command + Shift + Z |
| Switch between apps | Alt + Tab | Command + Tab |
| Search | Windows + S | Command + Space |
| Force Quit | Ctrl + Alt + Delete | Command + Option + Escape |
| Screenshot (full screen) | Print Screen | Command + Shift + 3 |
| Screenshot (selected area) | Snipping Tool | Command + Shift + 4 |
Conclusion : By familiarizing yourself with these MacBook keyboard shortcuts, you can quickly adapt to macOS and significantly enhance your productivity. This comparison chart serves as a handy reference to help you switch between systems with ease.
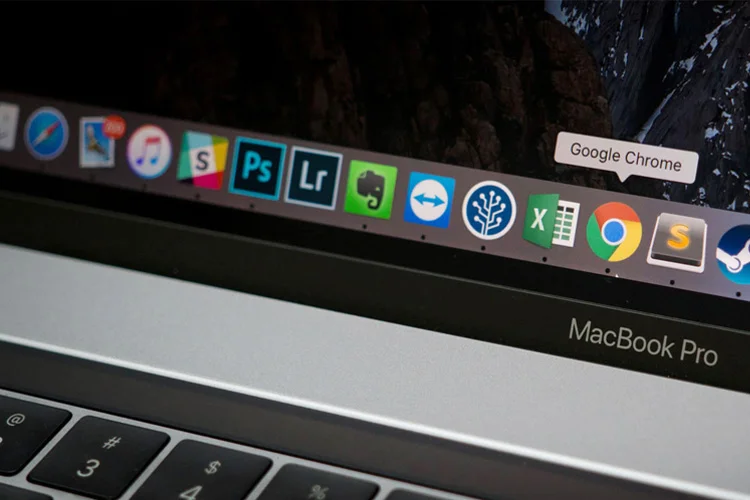
Customizing the Dock on your MacBook is key to enhancing productivity and keeping your workspace organized. This guide will walk you through the process of adding, removing, and organizing apps in the Dock, managing running apps and notifications, and customizing its appearance to suit your needs.
Adding Apps:
Removing Apps:
Rearranging Icons:
Creating Folders:
Using Dividers:
Identifying Running Apps:
Managing Notifications:
Closing Running Apps:
Changing Size and Magnification:
Positioning the Dock:
Auto-Hide the Dock:
Use Recent Applications:
Utilize Stacks:
Conclusion : By following these steps to customize and manage the Dock on your MacBook, you can create a more efficient and organized workspace. Whether you’re overwhelmed by too many icons or just want to streamline your workflow, these tips will help you use the Dock effectively and enhance your overall productivity.
![]()
Mastering MacBook trackpad tips can significantly enhance your navigation experience, offering more versatility than a traditional mouse. This guide will introduce essential trackpad gestures, provide tips on customizing your trackpad settings, and help you transition smoothly from using a mouse to navigating with a trackpad.
Two-Finger Scroll:
Pinch to Zoom:
Three-Finger Swipe:
Four-Finger Pinch:
Secondary Click (Right-Click):
Adjusting Sensitivity and Speed:
Customizing Gestures:
Tap to Click:
Trackpad vs. Mouse:
Key User Challenge: Many users struggle to adjust from a traditional mouse to the MacBook trackpad due to the different feel and gesture-based controls.
Solution: Encourage users to experiment with different gestures and take advantage of the customization options in the Trackpad settings. This experimentation will help them discover the full potential of the trackpad and make their navigation experience more seamless.
Conclusion : By utilizing these MacBook trackpad tips and customizing the settings to suit your preferences, you can unlock a more efficient and enjoyable navigation experience. Whether you’re transitioning from a mouse or just looking to enhance your workflow, mastering the trackpad will significantly improve your productivity.
![]()
Managing MacBook applications effectively is key to a smooth and productive workflow, especially when multitasking. This guide will help you switch between apps, manage multiple windows, and utilize tools like Mission Control for enhanced multitasking.
Command + Tab:
What is Mission Control?
Using Mission Control:
Key User Challenge: Many users find managing multiple windows and applications on a MacBook confusing, particularly when multitasking.
Solution:
Tips for Multitasking:
Conclusion : By mastering managing MacBook applications and using tools like Mission Control, you can significantly improve your multitasking capabilities. Whether you’re switching between apps or organizing multiple windows, these tips will help you navigate your MacBook more efficiently, reducing confusion and enhancing productivity.
![]()
Summary of Key Points: In this guide, we’ve explored several essential tools and tips for transitioning from Windows to MacBook. From understanding the macOS interface to mastering trackpad gestures, managing applications and windows, and customizing the Dock, these strategies are designed to help you navigate your MacBook more effectively. We also covered Spotlight Search as a powerful tool for quickly finding apps and files, and highlighted the importance of keyboard shortcuts to streamline your tasks.
Encouragement: Adapting to a new operating system like macOS can be challenging, but with patience and practice, you’ll find that these tools can significantly enhance your productivity. Each feature and tip we’ve discussed is a step towards becoming more comfortable and efficient with your MacBook.
Call to Action: We encourage you to continue exploring the vast array of features that your MacBook offers. The more you learn and experiment, the more you’ll uncover ways to improve your workflow. Stay curious, keep learning, and soon, navigating your MacBook will feel like second nature.
1. What is the equivalent of the Start Menu on MacBook?
On a MacBook, the equivalent of the Start Menu is the Dock and the Launchpad. The Dock provides quick access to your most-used applications, while the Launchpad gives you a grid view of all your installed apps, similar to the Start Menu’s list of programs.
2. How do I find applications quickly on a MacBook?
To find applications quickly on your MacBook, use Spotlight Search by pressing Command + Space. Start typing the name of the app, and it will appear in the search results almost instantly. You can also use the Launchpad by clicking its icon in the Dock or pinching your thumb and three fingers together on the trackpad.
3. Can I use a mouse instead of the trackpad on MacBook?
Yes, you can use a mouse instead of the trackpad on your MacBook. Any USB or Bluetooth mouse will work seamlessly with macOS. Simply connect the mouse, and it will automatically start working. Many users who prefer traditional navigation methods find it easy to switch between the trackpad and a mouse depending on their needs.
4. How do I take a screenshot on MacBook?
Taking a screenshot on a MacBook is straightforward:
Laptop screen capture helps you keep important data and is more convenient to review. Let's see how to take a screens...
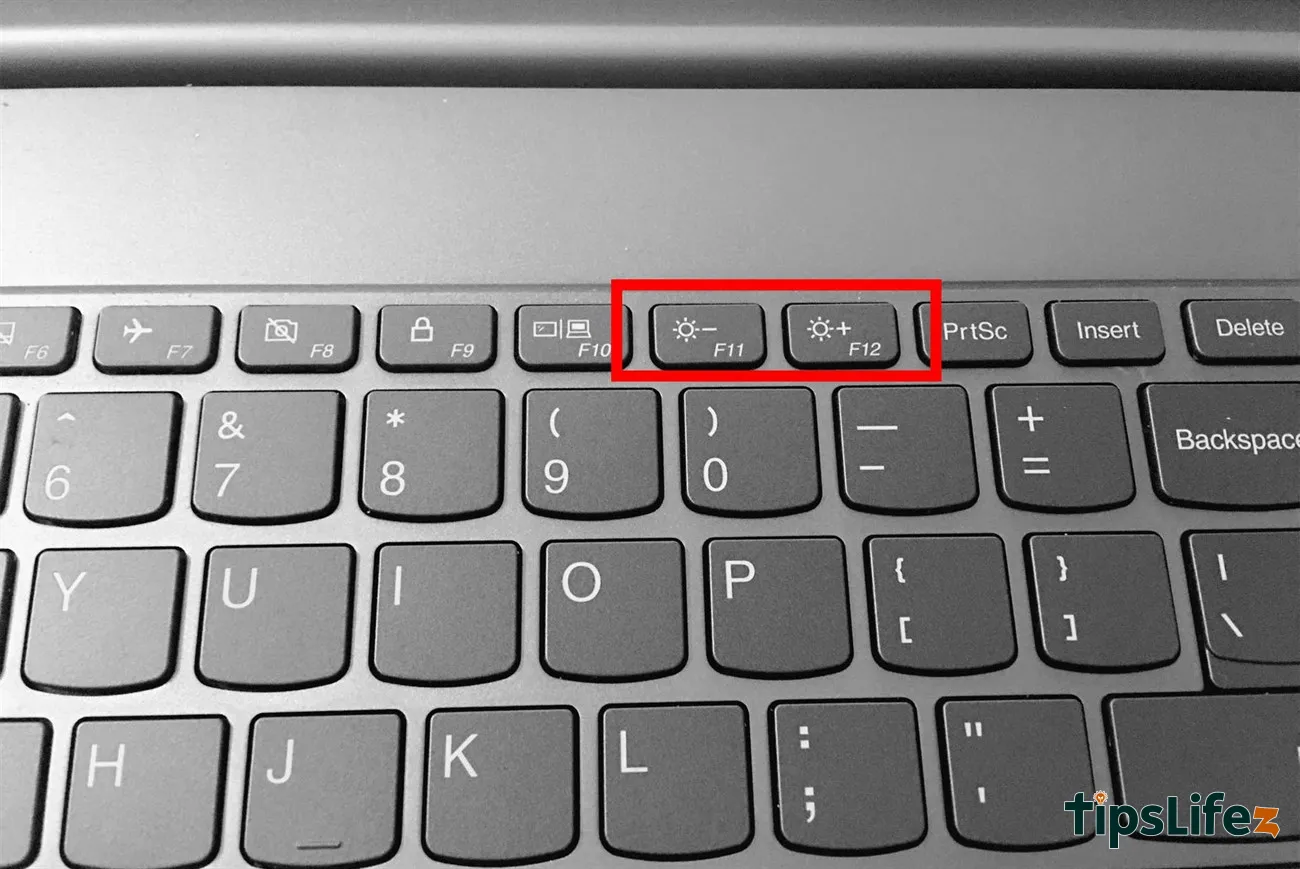
It is extremely important to adjust the screen brightness to suit the eyes. Below, TipsLifeZ will guide you on how to...

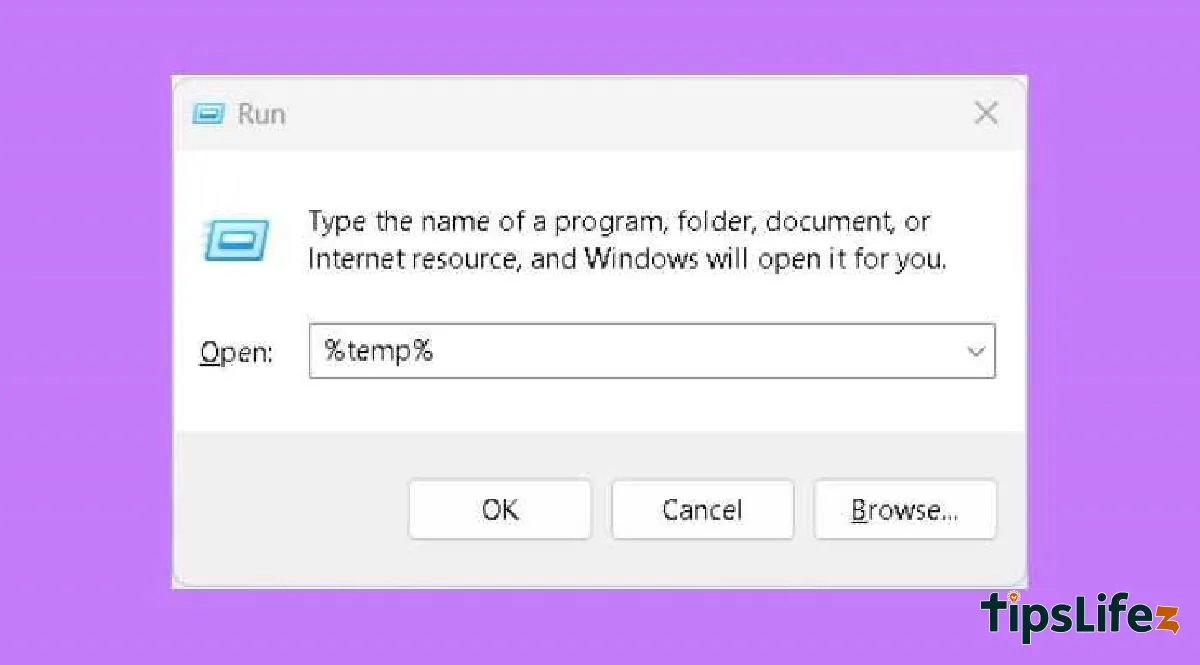
You are afraid that you will fall asleep when you are installing a fairly heavy software and have not yet had time to...

Discover now the top best free AI tools today, supporting you to write content, create images, edit videos, and learn...
A laptop is a commonly used device today. However, over time, it can start to slow down or lag. Join TipsLifeZ to dis...

The Shokz OPENRUN PRO headphones are accessories that use bone conduction technology, providing standard sound qualit...
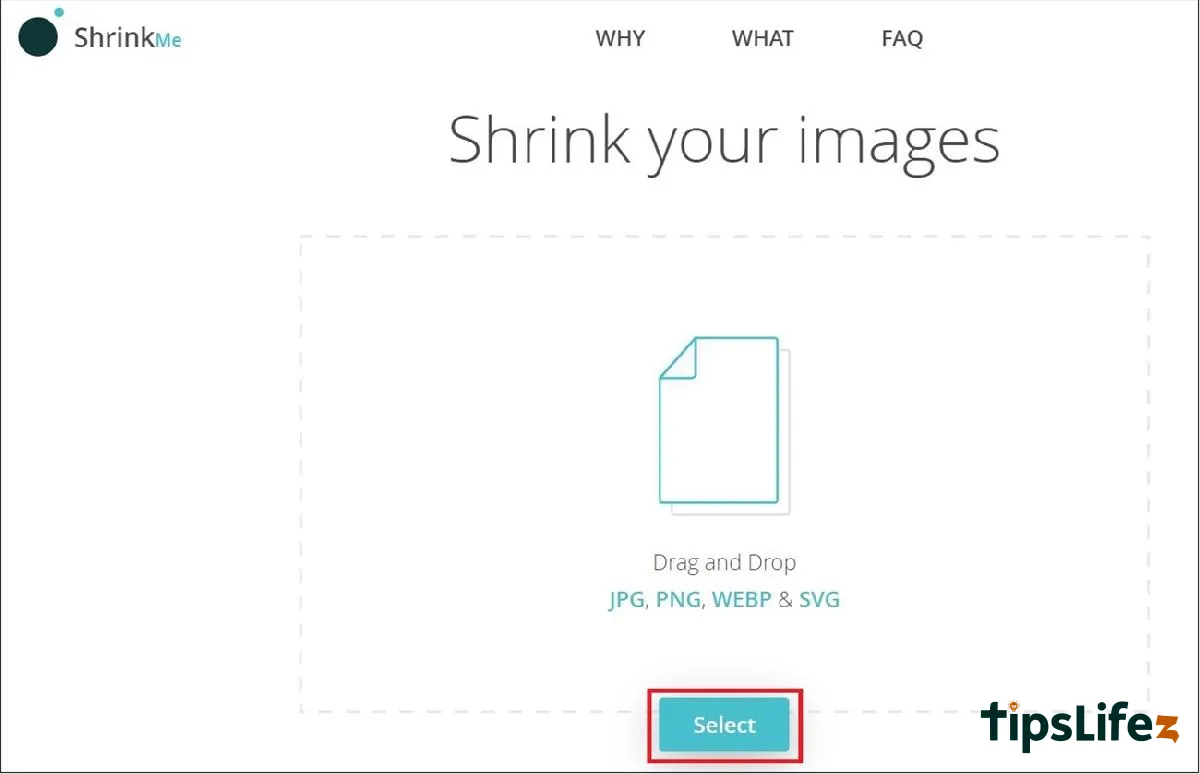
You want to reduce image size without affecting image sharpness but don't want to download software to your phone or ...
It is extremely important to adjust the screen brightness to suit the eyes. Below, TipsLifeZ will guide you on how to...
The Shokz OPENRUN PRO headphones are accessories that use bone conduction technology, providing standard sound qualit...
Laptop screen capture helps you keep important data and is more convenient to review. Let's see how to take a screens...
Using laptop touchpad is a habit and preference of many users. However, not everyone is familiar with how to enable t...

Google officially launches AI tool named Gemini Google AI, considered a heavyweight warrior in the artificial intelli...